


Category Archives: Alarm Installation


DIY vs. Professional Installation: Do You Really Need the Big Names for Home Security Systems?
DIY vs. Professional Installation: Do You Really Need the Big Names for Home Security Systems? [...]
Mar

Napco Prima the Easiest DIY Wireless Alarm System on the Market
Napco Prima the Easiest DIY Wireless Alarm System on the Market Introduction In today’s world, [...]
Mar

Alula and SafeHomeCentral.com – The Best Choice For Alarm Monitoring
Alula Communicators for Hardwired Alarm Systems and Why SafeHomeCentral.com is the Best Choice for Alula [...]
Feb


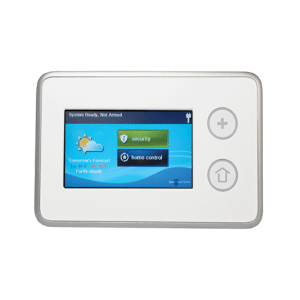
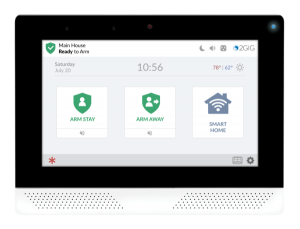
Pairing 2GIG GC2/GC2e and TS1 Touchscreen Keypads
Pairing 2GIG GC2/GC2e and TS1 Touchscreen Keypads: A Comprehensive Guide This briefing document reviews various [...]
Dec
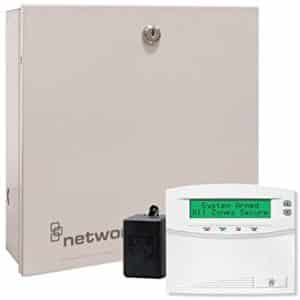
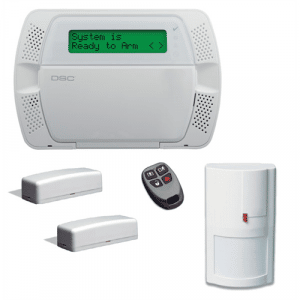
Adding Wireless Sensors To An Interlogix NetworX Panel
Adding wireless sensors to an Interlogix NetworX series DSC panel is not difficult assuming you [...]
Feb


Factory reset a LiftMaster MyQ Internet Gateway (828LM)
Factory reset a LiftMaster MyQ Internet Gateway (828LM) The following process will restore a LiftMaster [...]
Dec
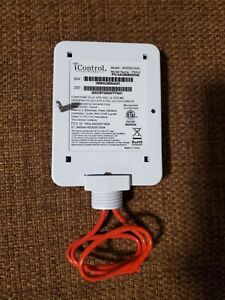

Hooking Up My Honeywell Dual-Path LTE-iA or LTE-iV Communicator
Hooking up your new Honeywell dual-path Ethernet and 4G LTE communicator to your Honeywell Vista [...]
Sep


Honeywell Tuxedo Firmware Upgrade Files
TUXWIFIW/TUXWIFIS Firmware Revision 5.3.21.0 Download Here
Mar

Default Installer and Master Codes For Major Security Systems
There are two codes all DIY homeowners should know related to their security system, the [...]
2 Comments
Apr

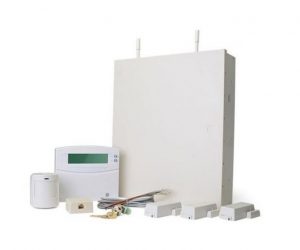
Purchasing a Professional-Grade Home Security System Without Paying Expensive ADT Pricing
Today homeowners are very cost conscious when it comes to home security alarm systems. This [...]
Aug
